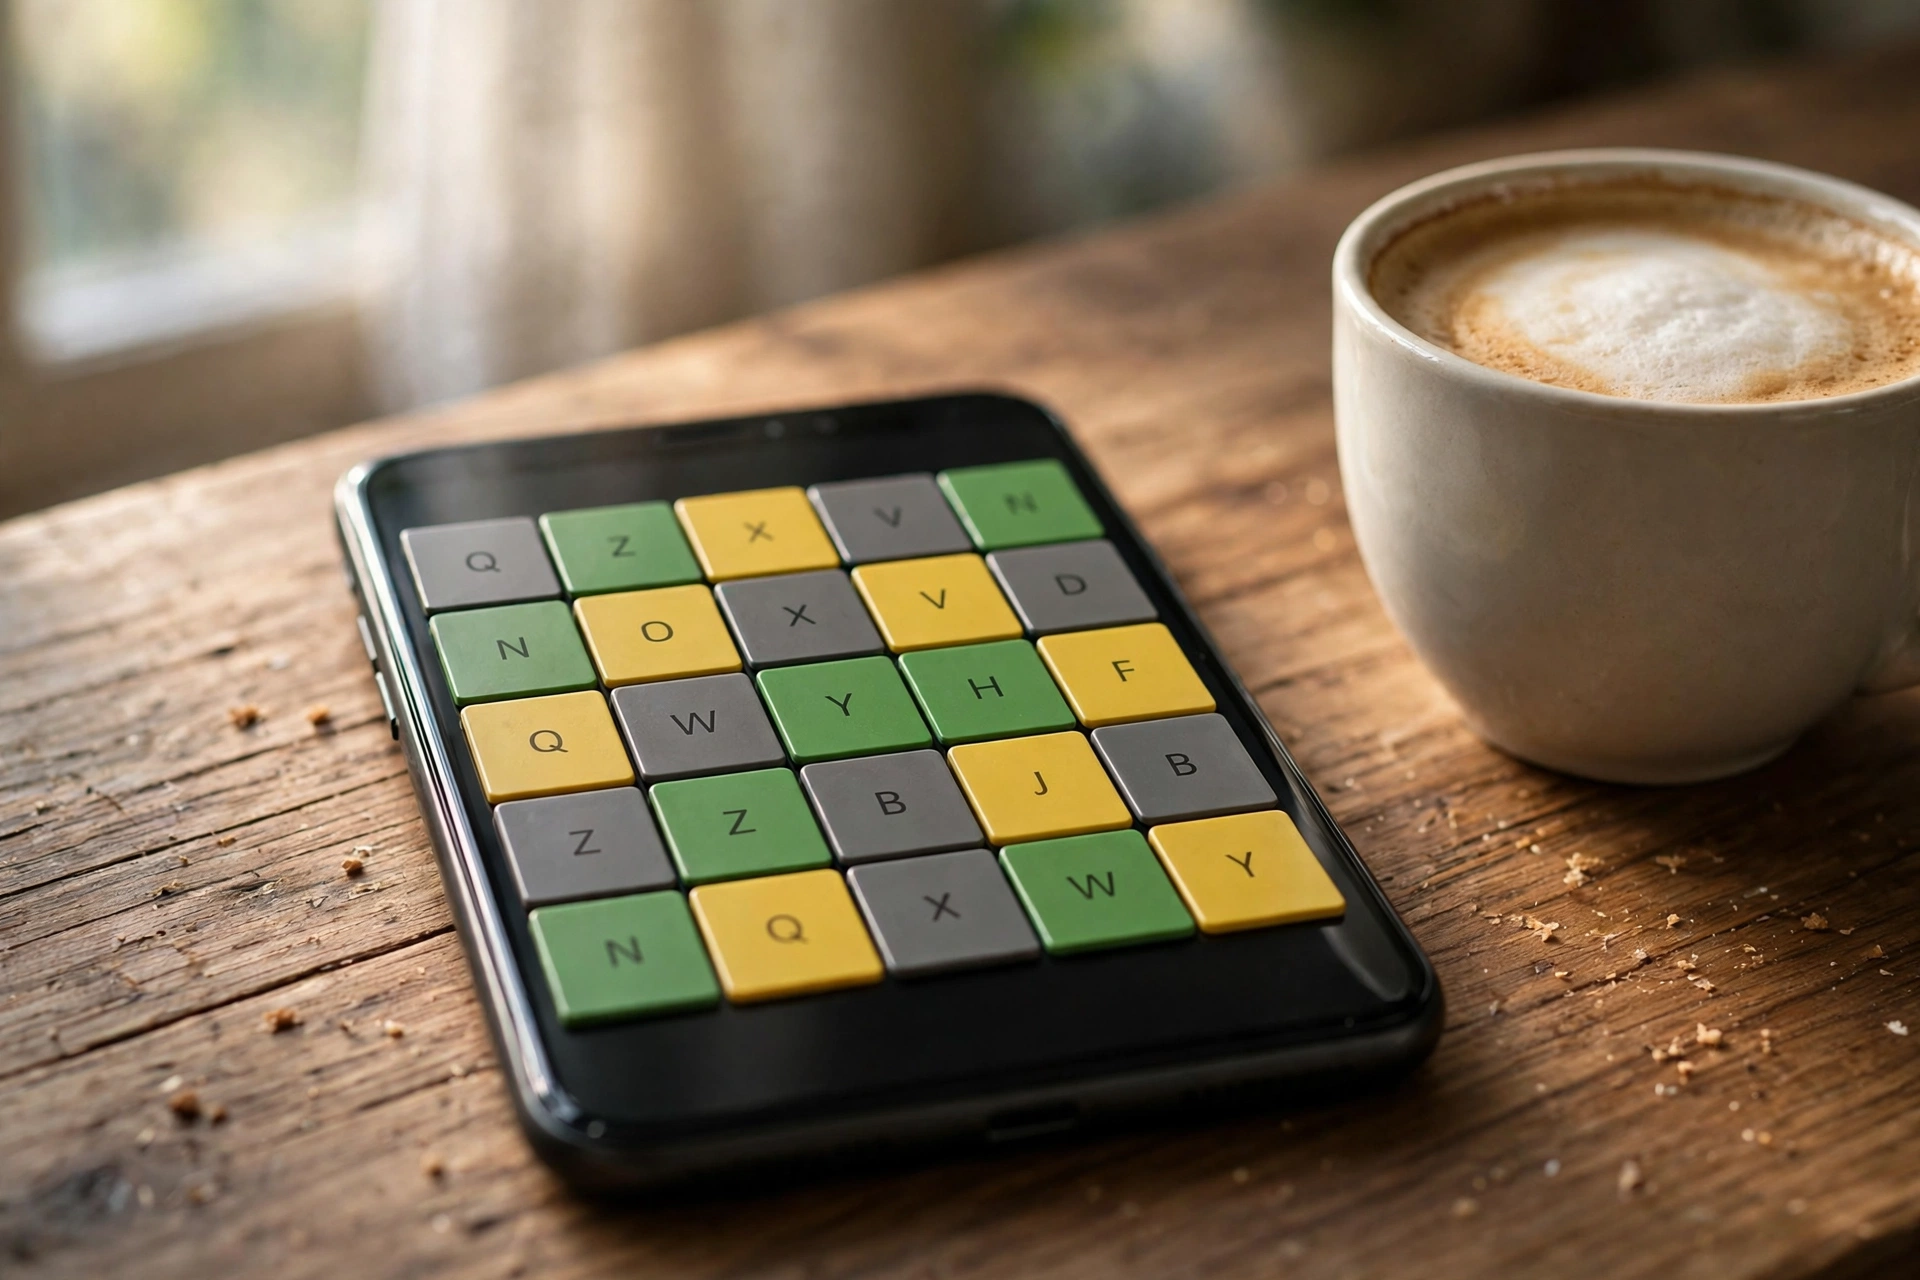
Waffle Sample Puzzle and Hints for Today, November 10, 2026
Quick answer: This is a sample Waffle puzzle for November 10, 2026, with waffle hints today in spoiler-free form, and it is not today’s puzzle from the game. Every player on this site gets a different random board, so there is no single set of today’s answers. The sample board below hides five words (LIGHT, PLANT, DREAM, LOPED and TOTEM), it starts with six green tiles already in place, and it solves in 7 swaps. Read the hints first if you want a challenge, or jump to the full solution when you are ready.
One thing has to be clear before anything else in this post. This is a sample puzzle. It is not the puzzle you will see when you open the game today. On this site, every board is generated fresh and at random for each player, so your board will have different words from this one. That is the whole point of this daily series: each morning we build one brand new sample board, solve it step by step, and show you the thinking behind every swap, so you can use the same ideas on your own board.
If you are new to the game, start with our beginner’s guide to Waffle, which explains the rules, the colours and the three modes in full. If you already know the basics, the sample board below is ready when you are.
Why This Is a Sample Puzzle, Not Today’s Answers
Most Waffle answer sites publish one set of words each day and call them today’s answers. Sites like GGRecon publish a fresh answers post every morning, and that works for the original game, where every player gets the same daily board. It does not work here, and it would be dishonest to pretend otherwise.
On thewafflegame.uk, there is no shared daily puzzle. There is no puzzle number, no midnight reset, and no single board that every player sees. Each time you load the game, it builds a fresh board from a random set of words. Your board is yours alone. Your friend’s board will be different, and if you reload the page, you will get another different board. That is how the game on this site is built, and it is a feature, not a bug: you never have to wait for tomorrow to play again.
So what is the point of a daily sample puzzle? Three things. First, it gives you a real board to practise on, with real hints and a real solution, before you open the game. Second, it teaches the swap logic in a way that transfers to any board, because the thinking is the same no matter which words appear. Third, it is a daily habit: a fresh puzzle to solve with your morning coffee, the same way other players check their daily answers.
Every post in this series follows the same honest format. One sample board, five words of our choosing, hints first, then the full solution behind a clear spoiler warning. Nothing here is ever presented as today’s answers, because on this site, today’s answers do not exist as one set of words.
How the Sample Board Works
The sample board follows the exact rules of the standard game on this site. It is a 5 by 5 grid that hides five five-letter words: three across and two down. You get 15 swaps to solve it. Green means a letter is in the right spot, yellow means it belongs in that word but sits in the wrong spot, and grey means it does not belong in that word. Green tiles are locked in place and cannot be swapped, so every plan starts from them.
The three across words run along the top, middle and bottom rows. The two down words run along the left and right columns. Six tiles sit where a row and a column cross, so those tiles belong to two words at once. Fixing a crossing tile helps two words at the same time, which is why the corners and the centre of the board matter so much. Our guide to getting 5 stars in Waffle explains how swap counts work and why a clean solve uses far fewer than the 15 swaps you are given.
The starting board already has six green tiles in place. That is a fair amount of help, and it is deliberate: this sample is built to teach, so it starts with enough anchors to show you how to read the board. A normal board might start with four or five green tiles. The method is the same either way.
Here is the starting board. Read it row by row, top to bottom.
| D | T | G | E | P |
|---|---|---|---|---|
| O | E | |||
| T | L | E | N | I |
| A | O | |||
| M | R | H | A | L |
The empty squares are not missing tiles. The grid only has 19 letter tiles, and the six blank squares are the gaps that give the board its waffle shape. The letters in the second and fourth rows sit only in the first and last columns, because those are the down words.
Before you look at the hints, take a minute to study the board yourself. The green G in the top row sits in the middle of a word. The middle row has two green letters with one gap between them. The bottom row has two green letters sitting side by side. See if you can guess even one of the five words before reading on. That first guess is the most useful skill in Waffle, and it is exactly what the hints below are designed to sharpen.
What the Colours Tell You on This Board
If the colours still feel confusing, the colour section of the beginner’s guide explains all three in detail, and WordUnscrambler shows the same colour rules on its daily hints page. Here is the short version, applied to this exact board.
Green tiles are finished. They are in the right spot and they cannot move. On this board, the green tiles are G in the top row, O in the second row on the left, L and N in the middle row, and R and A in the bottom row. Build every word around them.
Yellow tiles are close but not finished. The letter belongs in that word, but it sits in the wrong spot. On this board, the yellow tiles are T in the top row, E in the second row on the right, T at the start of the middle row, and M at the start of the bottom row. Each one needs to slide along its row or column until it finds its place.
Grey tiles do not belong in that word at all. They belong somewhere else on the board, usually in the word that crosses the same square. On this board, the grey tiles are D, E and P in the top row, E and I in the middle row, A and O in the fourth row, and H and L in the bottom row. Do not try to force a grey letter into its current word. It is telling you to look elsewhere.
One trap to watch: a letter can be grey in one word and still matter a lot. The D in the top left corner is grey for the top row, but D is a real letter in two other words on this board. The P in the top right corner is grey for the top row, but P opens the middle row word. Grey means “not in this word”, never “not on the board”. That single idea saves more swaps than any other rule in the game.
A second trap sits at the crossings. A tile where a row and a column meet belongs to two words, so its colour answers to both of them. The T at the start of the middle row is yellow because it belongs in that row word, further along. The E in the second row on the right is yellow because it belongs in the right column word, further down. When a crossing tile looks confusing, check both words before you move it.
Hints for the Sample Puzzle (Spoiler Free)
These hints give you one clue per word, with no answers. Read as many as you need and stop as soon as one clicks. Each hint also tells you the word’s first letter, because a first letter plus a clue is usually enough to crack a five-letter word.
Across Word 1 (Top Row): Starts With L
You switch it on when a room gets dark, and switch it off when you leave. The green G in the middle gives you the third letter. Think of something bright that hangs from a ceiling or sits on a desk.
Across Word 2 (Middle Row): Starts With P
It grows in a pot on a windowsill and needs water and sun to stay alive. The green L and N give you the second and fourth letters. The yellow T in this row belongs in the word too, at the very end.
Across Word 3 (Bottom Row): Starts With D
What you do at night when you sleep, or a big hope you carry for the future. The green R and A give you the second and fourth letters. The yellow M in this row belongs in the word too, at the very end.
Down Word 1 (Left Column): Starts With L
Walked with long, easy steps, the way a wolf or a tall person moves. The green O in the second row gives you the second letter. This is a past tense verb, so think about how the action ended.
Down Word 2 (Right Column): Starts With T
A tall carved pole made by some Native American peoples, often with animal faces stacked on top of each other. No green tile helps you here, so this is the hardest word on the board. The yellow E in the second row belongs in this word, near the bottom.
If you solved all five words from the hints alone, well done. That is the whole game in miniature: a clue, a first letter, a few green anchors, and a little patience. If one or two words are still hiding, the full solution is below.
Spoiler Warning: Full Sample Solution Below
Stop here if you want to keep solving. Everything below this line reveals the five sample words, the solved board, and the full 7-swap solution. There is no going back once you read it.
The Five Sample Words
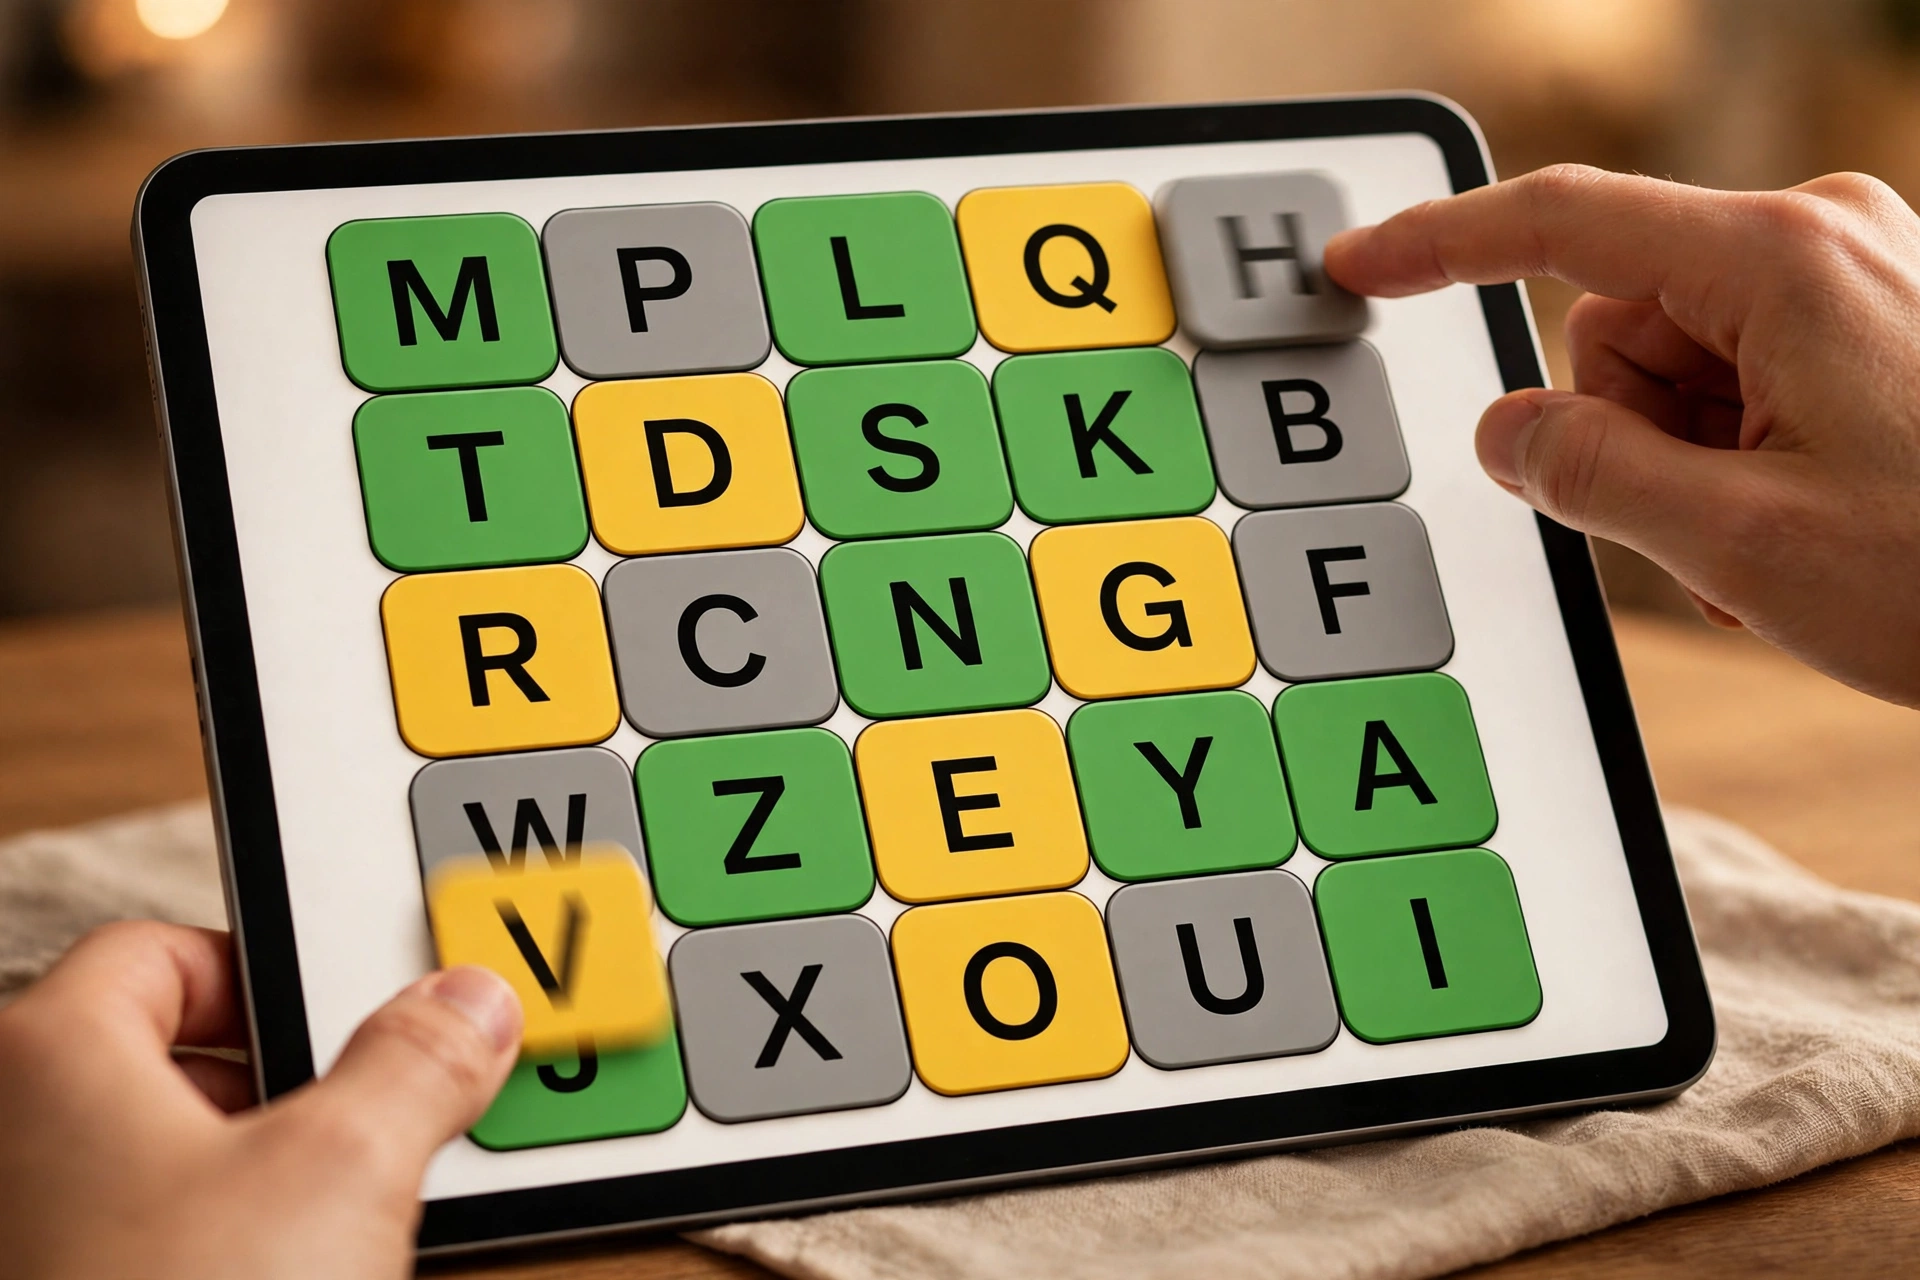
Here are the five words hidden in today’s sample board:
- Across 1 (top row): LIGHT
- Across 2 (middle row): PLANT
- Across 3 (bottom row): DREAM
- Down 1 (left column): LOPED
- Down 2 (right column): TOTEM
Check them against the grid. LIGHT runs across the top, PLANT runs across the middle, DREAM runs across the bottom. LOPED runs down the left column, and TOTEM runs down the right column. The crossing letters match in both directions, which is the test that a Waffle board is built correctly: the L of LIGHT is also the L of LOPED, the T of LIGHT is also the T of TOTEM, the P of PLANT is also the P of LOPED, the T of PLANT is also the T of TOTEM, the D of DREAM is also the D of LOPED, and the M of DREAM is also the M of TOTEM.
Here is the solved board:
| L | I | G | H | T |
|---|---|---|---|---|
| O | O | |||
| P | L | A | N | T |
| E | E | |||
| D | R | E | A | M |
Every tile is green now. That is the win state: all five words correct, all 19 letters in their right places.
The 7-Swap Solution, Step by Step
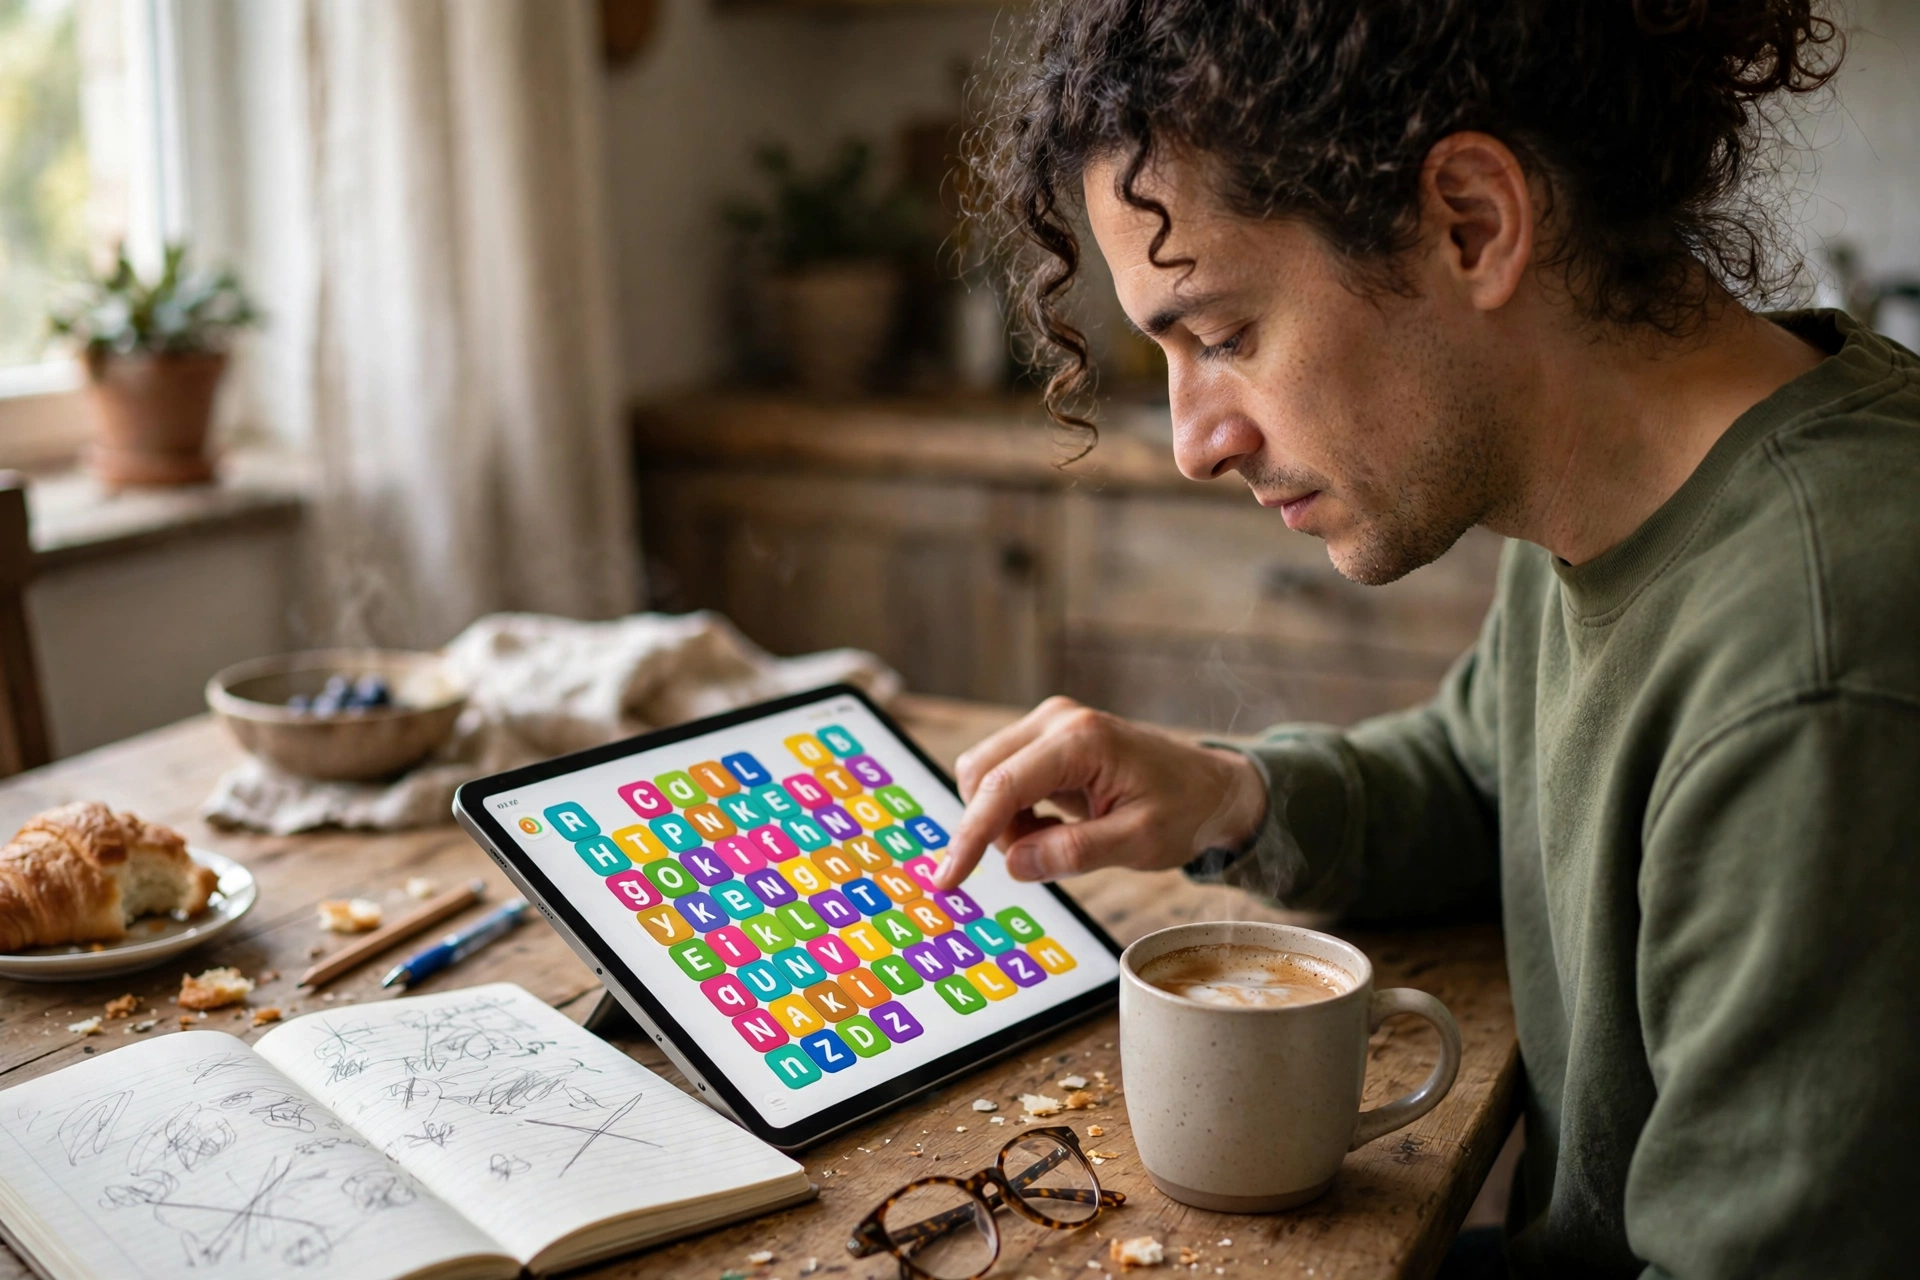
The sample solves in 7 swaps, three under the 10-swap par that the original game rewards with a top score. You have 15 swaps, so a 7-swap solve leaves 8 to spare. The steps below show every swap and what it achieves. Follow them on the starting board and you will watch the puzzle come together in a satisfying order: the corners first, then the top row, then the middle, then the bottom.
Swap 1: D (top left) with L (bottom row, last tile). The L belongs at the start of the top row, where it turns green at once. The D moves to the bottom right corner, where it waits for its turn. This is the most important swap on the board, because the top left corner belongs to two words, and fixing it helps both LIGHT and LOPED.
Swap 2: M (bottom row, first tile) with D (bottom row, last tile). This is the first double win. The D lands as the first letter of DREAM and turns green, and the M lands as the last letter of DREAM and turns green at the same time. One swap, two green tiles. Whenever you can make a swap that turns two letters green, take it. It is the fastest way to cut your swap count.
Swap 3: T (top row, second tile) with I (middle row, last tile). Another double win. The I lands as the second letter of LIGHT and turns green, and the T lands as the last letter of PLANT and turns green. Two words improve with one move, and the middle row still needs two letters before it is finished.
Swap 4: E (top row, fourth tile) with H (bottom row, middle tile). Another double win. The H lands as the fourth letter of LIGHT and turns green, and the E lands as the third letter of DREAM and turns green. The bottom row is finished now, and the top row needs only its last letter.
Swap 5: P (top row, last tile) with T (middle row, first tile). Another double win. The T lands as the last letter of LIGHT and turns green, which finishes the top row completely, and the P lands as the first letter of PLANT and turns green. Two rows are finished with five swaps used.
Swap 6: E (second row, last tile) with O (fourth row, last tile). Another double win, this time in the right column. The O lands as the second letter of TOTEM and turns green, and the E lands as the fourth letter of TOTEM and turns green. The right column is finished now.
Swap 7: E (middle row, middle tile) with A (fourth row, first tile). The final double win. The A lands as the third letter of PLANT and the E lands as the fourth letter of LOPED, and both turn green. The board is solved.
Count the green tiles after each swap and you will see the pattern: the first swap turned one letter green, and every swap after that turned two letters green. That is 13 green tiles earned in 7 swaps, on top of the 6 green tiles the board started with. That is the whole secret of a low swap count: look for swaps that fix two letters at once, and never spend a swap that fixes nothing.
What This Sample Teaches You
This sample board is small and friendly, but the lessons in it show up on every board you will ever play. They are worth naming plainly so you can use them on your own puzzle today.
Start with the corners. The top left corner of this board was the key to the whole solve. It belonged to two words, so fixing it helped LIGHT and LOPED at the same time. Corners and the centre of the board always belong to two words. Solve them first and the rest of the board gets easier.
Trust the green tiles. Six green tiles were already in place before the first swap. They spelled out the middle of one word, the edges of two more, and the backbone of the rest. A good solve never fights the green tiles. It builds around them.
Yellow means “in this word, wrong spot”. The yellow T in the top row was the whole clue to LIGHT, because it told you the word ended in T before you knew anything else. The yellow M in the bottom row did the same job for DREAM. Yellow tiles are information, not mistakes. Read them before you move them.
Grey means “not in this word”, not “useless”. The D in the top left corner looked like a dead letter. It was the first letter of DREAM and the last letter of LOPED. The P in the top right corner looked just as dead. It was the first letter of PLANT. Grey tiles are letters that belong somewhere else on the board. Follow them to their real home.
Look for double-green swaps. Six of the seven swaps in this solve turned two letters green at once. That is what cut the solve from 13 swaps to 7. Before every swap, ask one question: can I fix two letters with this one move? If the answer is yes, make that swap first.
If you want more practice with these ideas, our 5-star guide works through a full board with the same habits, and the beginner’s guide covers the rules and the colour system from the start.
How to Play Your Own Board Today
The sample is solved, but your game is waiting. Open the Waffle game and load a fresh board. It will look different from this sample, and that is exactly the point. Use the same five habits: corners first, build around the green tiles, read the yellow tiles, follow the grey tiles to their real homes, and look for double-green swaps.
You get 15 swaps on a standard board, and 3 hints if you get stuck. A hint places one misplaced letter into its correct spot, which is often enough to unlock the rest of the board. Use a hint when you have stared at the same board for a while and nothing is moving, not at the first sign of trouble. The struggle is where the learning happens.
There is no daily puzzle to miss and no reset time to wait for. If you finish your board and want another, load a fresh one. If you want a bigger challenge, try Deluxe mode, which uses a 5 by 6 grid with six words and 25 swaps. You can read about all the modes on our blog, where a new sample puzzle appears every morning.
Frequently Asked Questions
What do the yellow letters mean in Waffle?
A yellow letter belongs in that word but sits in the wrong spot. It needs to move to another position in the same row or column. At a crossing tile, a yellow letter belongs in one of the two words that meet there, so check both directions before you move it. This is one of the most asked questions about the game, and GroupGames101 answers it the same way in its FAQ.
How many swaps do you get in Waffle?
You get 15 swaps on a standard 5 by 5 board, and 25 swaps on a Deluxe board. Every puzzle on this site can be solved inside that limit, and most boards solve in far fewer. The sample in this post solved in 7 swaps. If you run out of swaps, the puzzle ends and the answers are revealed, so spend each swap on a move that turns at least one letter green.
Can I swap a green tile in Waffle?
No. Once a letter turns green, it is in its correct spot and it is locked in place. That is why green tiles are the anchors of every solve. Plan your swaps around them, and never waste a move trying to shift a letter that is already home.
What happens if I run out of swaps in Waffle?
The puzzle ends and the answers are revealed, so you can see the words you missed. There is no penalty beyond the lost board, and nothing stops you from loading a fresh board right away. To avoid running out, spend each swap on a move that turns at least one letter green, and use a hint before your last few swaps if you are stuck.
Is Waffle free to play?
Yes. The game on this site is free, with no account and nothing to download. It runs in your browser on a phone, tablet or computer. The original game also has apps, but this site needs nothing installed.
What time does a new Waffle puzzle arrive?
There is no reset time on this site. A new puzzle is one tap away at any time, because boards are generated fresh on demand. The midnight reset times you see on answer sites belong to the original game only, where every player shares one daily board. For a full explanation, see our guide on the blog.
Conclusion
Today’s sample puzzle hid five everyday words, LIGHT, PLANT, DREAM, LOPED and TOTEM, behind a scrambled 5 by 5 grid. It started with six green tiles, solved in 7 swaps, and the solve turned on five simple habits: corners first, trust the green tiles, read the yellow tiles, follow the grey tiles home, and look for swaps that fix two letters at once.
Remember that this was a sample, not today’s puzzle. Your board will have different words, and that is the fun of it. The habits are the same on every board, so take them with you when you play. Come back tomorrow morning for a brand new sample puzzle, with fresh words, fresh hints and a fresh step-by-step solve.




One Comment